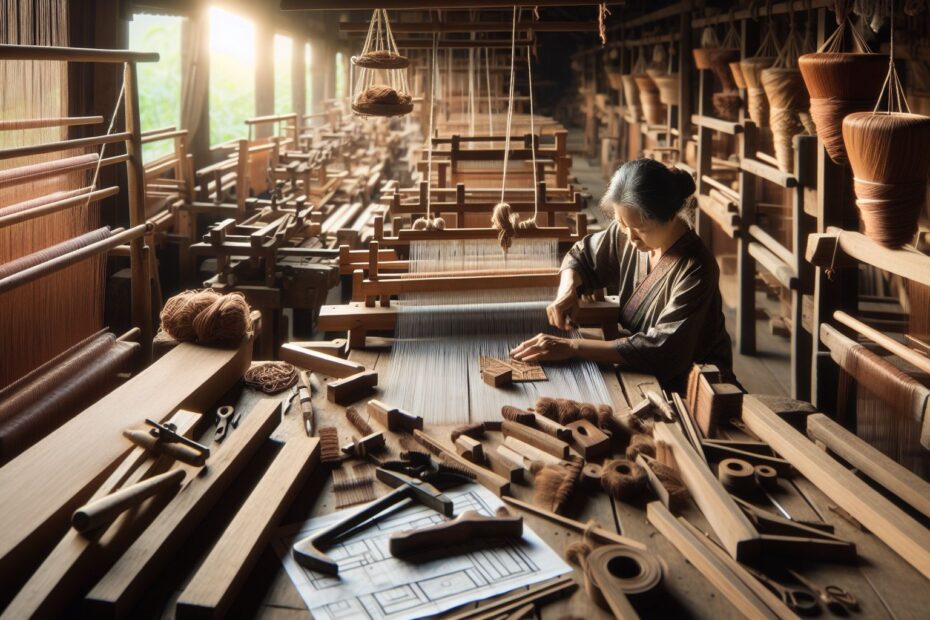
As a woodworker, you are constantly seeking new challenges and projects to push your skills to the next level. One area of craftsmanship that you may find particularly intriguing is the art of making looms for weaving. These intricate devices play a crucial role in the textile industry, allowing artisans to create beautiful fabrics with precision and detail. In this comprehensive guide, we will explore the process of crafting looms for weaving from start to finish, providing you with the knowledge and inspiration to take on this rewarding project.
Introduction to Looms for Weaving
Looms for weaving are essential tools used to create fabrics by interlacing threads in a systematic pattern. These devices consist of a frame, heddles, and a shuttle, all of which work together to control the tension and positioning of the threads during the weaving process. While looms can vary in size and complexity, they are typically made from wood due to its durability and flexibility.
Selecting the Right Wood
The first step in crafting a loom for weaving is selecting the right type of wood for the project. Hardwoods such as oak, maple, and cherry are popular choices due to their strength and resistance to warping. It is essential to choose wood that is free of knots and imperfections, as these can compromise the structural integrity of the loom.
Planning and Design
Once you have chosen the wood for your loom, the next step is to create a detailed plan and design for the project. This involves determining the dimensions of the frame, the spacing of the heddles, and the overall layout of the loom. Precision is key in this stage, as any miscalculations can result in an uneven weave or a malfunctioning loom.
Cutting and Shaping the Wood
With your design in hand, it is time to start cutting and shaping the wood to create the various components of the loom. This process requires a steady hand and a keen eye for detail, as each piece must fit together seamlessly to ensure smooth and accurate weaving. Using tools such as a table saw, chisels, and planes, you can carefully shape the wood to match your design specifications.
Assembling the Loom
Once all of the components of the loom have been cut and shaped, it is time to assemble them into the final product. This involves joining the frame, attaching the heddles, and installing the shuttle to create a fully functional weaving device. Attention to detail is crucial in this stage, as any misalignments or loose connections can impact the performance of the loom.
Finishing Touches
After assembling the loom, it is important to apply a finish to the wood to protect it from wear and tear and enhance its natural beauty. A coat of varnish or oil can help seal the wood and provide a smooth surface for the threads to glide across during the weaving process. Additionally, adding decorative touches such as carving or inlay can elevate the aesthetic appeal of the loom.
Conclusion
Crafting a loom for weaving is a challenging but rewarding task that allows woodworkers to showcase their skills and creativity. By following the steps outlined in this guide, you can create a beautiful and functional loom that will serve you well in your weaving endeavors. So gather your tools, select your wood, and embark on the journey of crafting a loom that will stand the test of time. Happy woodworking!
